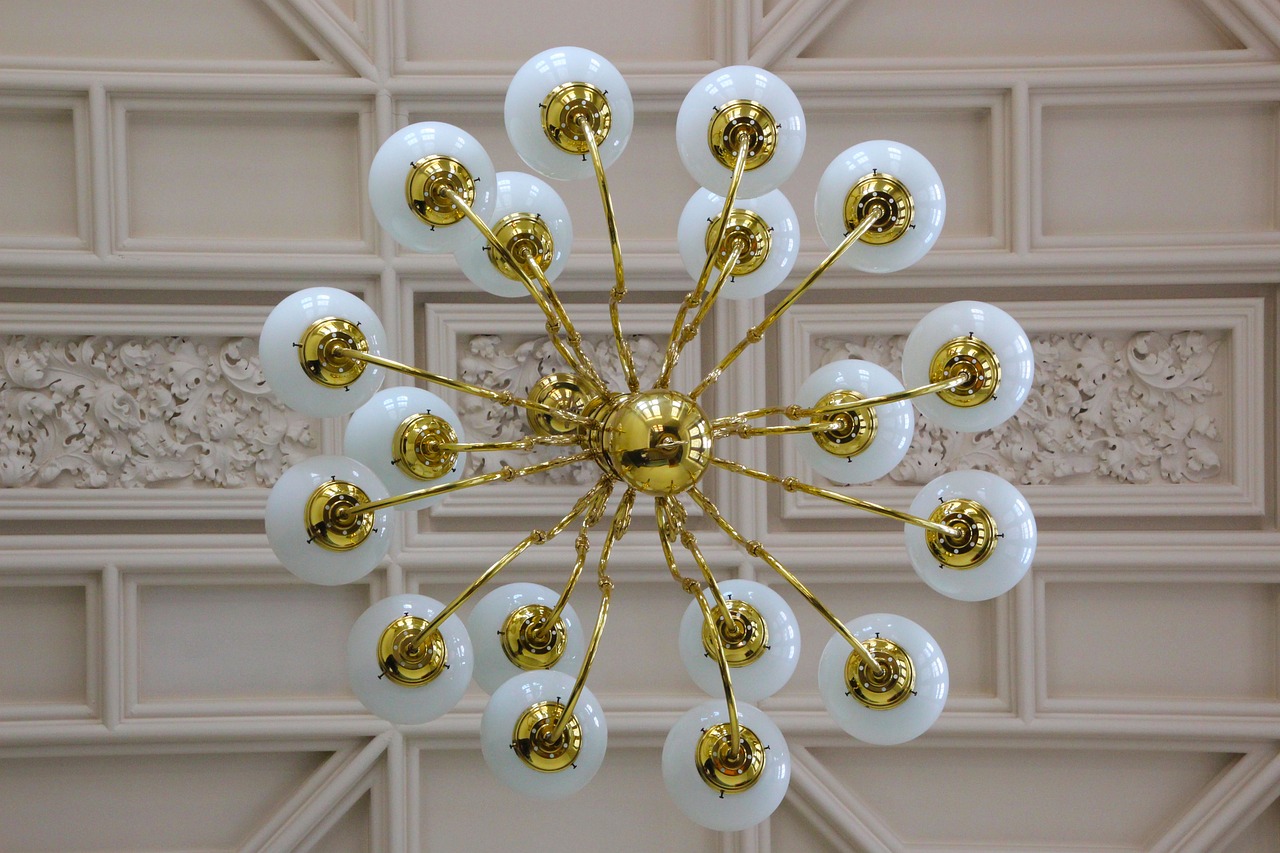
Chandeliers are complex yet artistic objects that add a sparkling elegance to any space, whether a home/residential or an office/commercial space. However, their beauty can diminish when dust and grime accumulate on their intricate surfaces.
Now the question arises how would you clean a chandelier?
What’s the best way to clean the chandelier?
Come along for a step-by-step guide on Chandelier Cleaning.
Table of Contents
ToggleStep #1: Know your chandelier type
Before we get into it you must identify the material of your chandelier because different materials require different cleaning methods and chemical solutions.
Cleaning Crystal chandeliers, with their prismatic nature, requires extra care and specific cleaning solutions to avoid damage.
Cleaning chandeliers with glass fixtures, while being less delicate, still needs to be handled carefully to maintain them and to preserve their clarity.
Metal chandeliers are rugged, but on the other hand, may need special solutions to prevent tarnishing and maintain their lustrous, shiny surface. Additionally, dirt on the metal elements, especially on gold or black chandeliers, can lead to discoloration and sometimes corrosion.
Step #2: Keep Dos and Donts in Check
Common Mistakes to Avoid During Chandelier Cleaning
- Using Harsh Chemicals: These can damage the delicate surfaces of your chandelier, especially crystal and metal.
- Neglecting Safety Precautions: Always turn off the power to the chandelier before cleaning and ensure your ladder is stable.
- Skipping Regular Maintenance: Ignoring regular dusting and polishing can lead to a buildup that’s harder to clean later.
- Not Using the Right Tools: Using rough cloths or inappropriate cleaning solutions can scratch or dull the chandelier.
Tips for Maintaining a Clean Chandelier
- Dust Weekly: Use a soft, feather duster or microfiber cloth to remove surface dust.
- Inspect Regularly: Check for any loose parts, corrosion, or tarnishing, and address these issues promptly.
- Polish Biannually: Give your chandelier a deeper clean twice a year, focusing on polishing the crystals and metal parts.
- Avoid Touching the Crystals with Bare Hands: Use cotton gloves to prevent fingerprints and smudges.
Step #3: Materials You’ll Need for Chandelier Cleaning
- Protective covering for the floor
- Ladder or Step-stool
- Soft duster and brush
- Soft, lint-free microfiber cloth
- Glass cleaner or a mixture of distilled water and white vinegar
- A 1:4 ratio of isopropyl alcohol to distilled water
- Gentle dish soap
- Small bowl
- Cotton gloves, Goggles, and a headcover
- Rust/Corrosion remover and protective solution
- Canned Spray Paint
Step #4: Pre Cleaning Preparations
Let’s take to through the process of how to clean a chandelier at your home (DIY).
Ensure safety first by turning off the power to the chandelier through circuit breakers and spreading cloth or covering underneath the chandelier to catch any drips, dust, or accidentally dropped pieces before setting up your ladder/stool in a securely balanced manner. Gather your cleaning supplies in a basket with a handle, before mounting up the ladder to start cleaning your chandelier at home or DIY project at your workplace.
Step #5: Post Preparations Process
Now follow the instructions as per your chandelier cleaning type, whether it’s weekly, monthly, or annual.
For weekly chandelier dusting:
Use soft/feather dusters or soft cloth to trap surface dust on bulbs, chain links, and visible surfaces, and carefully check for any loose parts or corrosion without disassembling the chandelier.
For biannual chandelier polishing
Carefully wipe down each piece of your chandelier with a microfiber cloth in a polishing manner sprayed with any of the prescribed cleaning solutions. Ensure to wear a pair of white cotton gloves to keep your fingerprints off the prisms. Consider Spring and Fall timings, and do a deeper cleaning. Polish the crystals and metal elements with any of the solutions mentioned above and a soft cloth twice a year.
For the annual overall chandelier cleaning
Completely dismantle, carefully soak every non-electric piece in solution, and wash crystals and all chandelier non-electric parts/pieces, To completely refurbish them, use the polishing method at rinse. 100% dry while avoiding scratches and fingerprint marks before reassembling, and address any electrical issue upon drying up. Be extra careful while assembling and appropriately tighten every screw and pinch any loose link that can cause any mishap.
Corroded/Rusted Chandelier Parts
In case you encounter corrosion on the metal parts of the chandelier, you’ll need a chemical solution, either corrosion/rust remover or a resistant solution, depending upon the part’s condition. Surely you’ll have to clean it separately, to avoid the unwanted chemical solution sprayed on other parts and you can safely paint it if needed without spraying it on other parts before you assemble it.
FAQs
Q1: How often should I clean my chandelier?
A1: Dust weekly, polish biannually, and perform a deep clean annually to keep your chandelier in top condition.
Q2: Can I use any glass cleaner on my chandelier?
A2: It’s best to use a cleaner specifically designed for chandeliers or a mixture of distilled water and white vinegar.
Q3: What should I do if my chandelier has rust or corrosion?
A3: Use a rust remover or corrosion-resistant solution on the affected metal parts, ensuring it doesn’t come into contact with other materials.
Q4: Should I hire a professional to clean my chandelier?
A4: If your chandelier is large, intricate, or particularly valuable, professional cleaning is recommended to avoid damage and ensure a thorough cleaning.
Why It’s Important to Keep Your Chandelier Clean
Regular cleaning not only preserves the chandelier’s shine but also ensures its longevity and efficiency as a light fixture. Neglecting this task can lead to a buildup of dirt, which can obscure the light causing a waste of electricity and even cause different sorts of damage over time like burnout of LED or fluorescent bulbs due to low heat dissipation or short circuits due to accumulated dirt/dust layer on the electricals.
DIY vs. Professional Chandelier Cleaning
What’s better for you, DIY or professional chandelier cleaning service?
While chandeliers can be cleaned as a DIY project, their intricate design, delicate materials, and the risks involved often make professional cleaning a preferable option. DIY cleaning is cost-effective and convenient, but it requires time, patience, and the right techniques to avoid damage. On the other hand, professional services, like those offered by Clarke Service Professionals, ensure a thorough, safe, and hassle-free cleaning process, using specialized tools and products to protect your chandelier’s delicate components.
What are the Pros and Cons of Chandelier Cleaning? (DIY and in General)
Advantages of Chandelier Cleaning:
- Enhances Aesthetic Appeal: A clean chandelier sparkles more, improving the overall ambiance of the room.
- Prolong Lifespan: Regular maintenance prevents damage and extends the life of your chandelier.
- Cost Savings: Regular DIY cleaning can save money in the long run by reducing the need for repairs or replacements and conserving power by maintaining luminosity.
Disadvantages:
- Time-Consuming: Cleaning a chandelier, especially a large or intricate one, can be a lengthy process, especially DIY.
- Risk of Damage: Especially in the case of DIY, without the right techniques or tools, you may inadvertently damage your chandelier.
- Safety Concerns: If you’re doing it yourself working at heights and handling delicate pieces can pose risks.
Do you love to see your crystal chandelier sparkle in the light?
You probably don’t love the cobwebs and grime that collect on this art piece!
To find a hassle-free solution call now and book a professional chandelier cleaning service appointment now with Clarke Service Professionals.


